Read on to see the unlikely tool I think every homeschooling mom should have in her craft & homeschool area!

Disclaimer: This post contains affiliate links. Your purchase through those links helps me create more awesome content for you!
I have to admit, I’ve got a DIY spirit.
Most of my adult life was spent as an independent contractor playing for gigs, so I was no stranger to the “enterpreneur”, do-it-yourself world.
I was blessed to have married a man with some woodworking experience and learned very quickly that you can do a lot of very beautiful wood projects at home!
I began asking him how I could go about creating my own Montessori wood activities for my children, so I had free consulting, you could say 🙂
Then there’s the time I asked him how people shape their landscaping bushes to make neat little spheres and such, and he told me “well you need a shaper saw!”
…and I believed him >:[ he couldn’t stop laughing.
So while I love trying my hand at new things, I’m a bit clueless as to how basic things work haha.
That’s why I’ve been wanting to share this process with you since I learned how to carve my own DIY projects for Montessori wood activities using my wood engraving tool.
Because believe me – if I can do it, so can you!
It all starts with a wood engraving tool
Also called a rotary tool, it’s used by carpenters for fine engraving projects.
Is it dangerous?
Slightly, but only if you don’t read the instructions or have a handy person supervise you the first few times before you get the hang of it. You could use safety goggles…I don’t, maybe because I have glasses with a pretty bad (read: THICK) prescription, haha 😀
How much is the rotary tool, where do you get it?
I got my wood engraving tool from Amazon, the brand is Goxawee. It was only about $40 (many times they have a 10% off deal and “lightning” deals, check back daily), compared to more expensive name brands like Dremel. Honestly, since this is just used as a hobby I didn’t think investing in anything more expensive was worth it, and I’m pretty sure they achieve the same results! It comes with a big variety of bits to use for all kinds of materials – glass, ceramic, metal, resin, and more.
What kind of wood projects can you make?
You can easily use it for creating DIY wood gifts like wood engraved name signs, Christmas tree wood slice ornaments, wood engraved boxes, wood engraved cutting boards, and so much more.
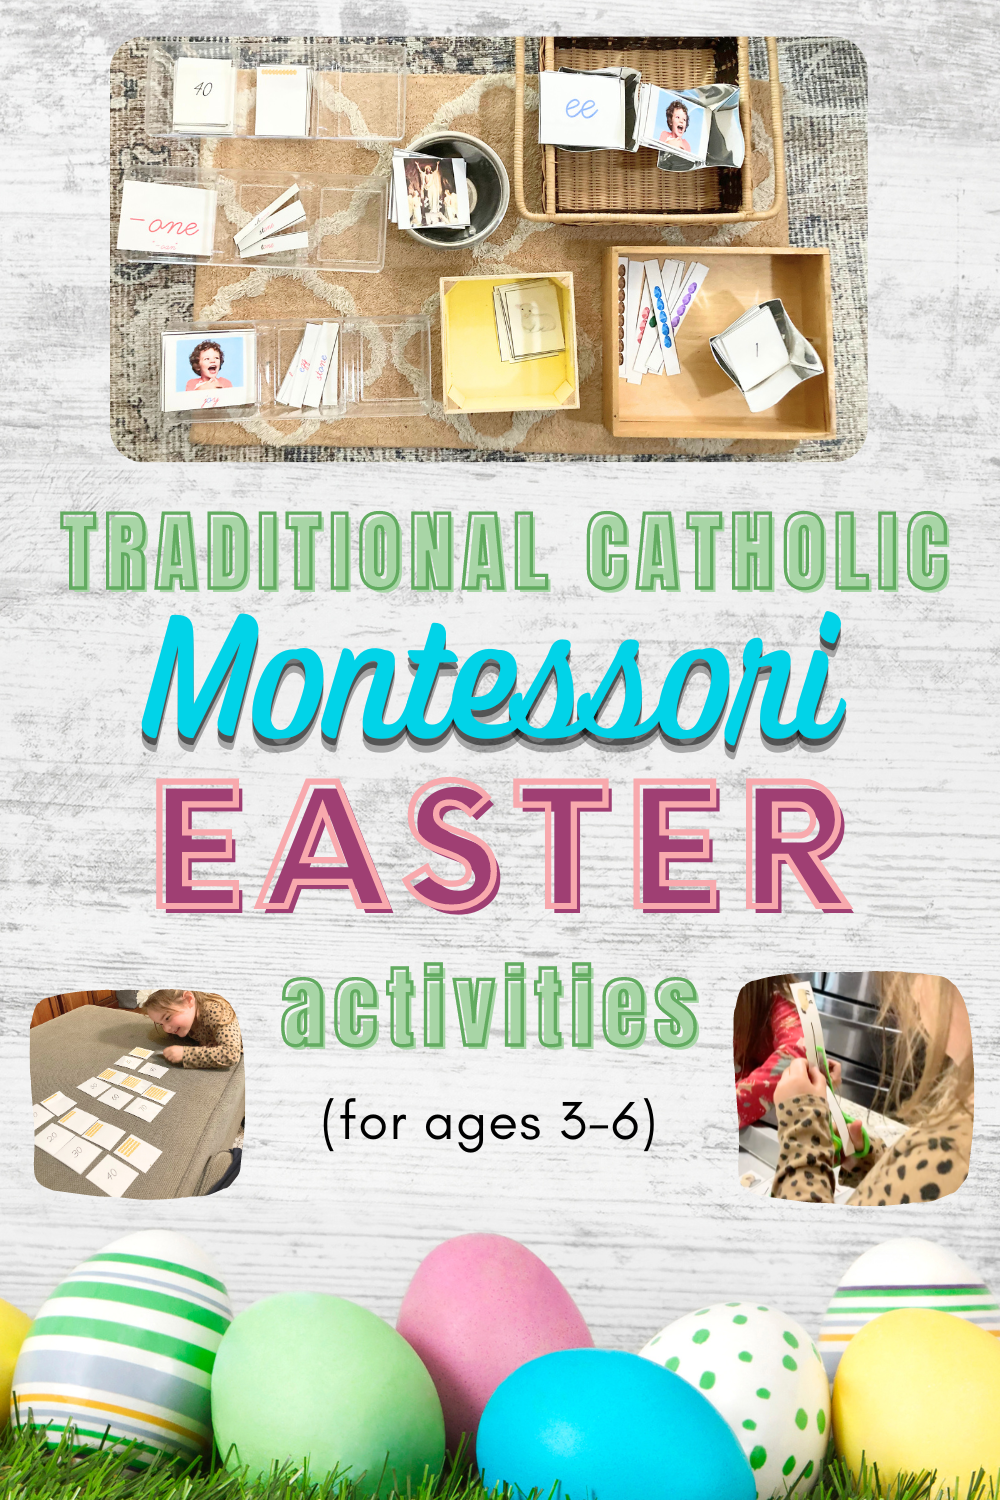
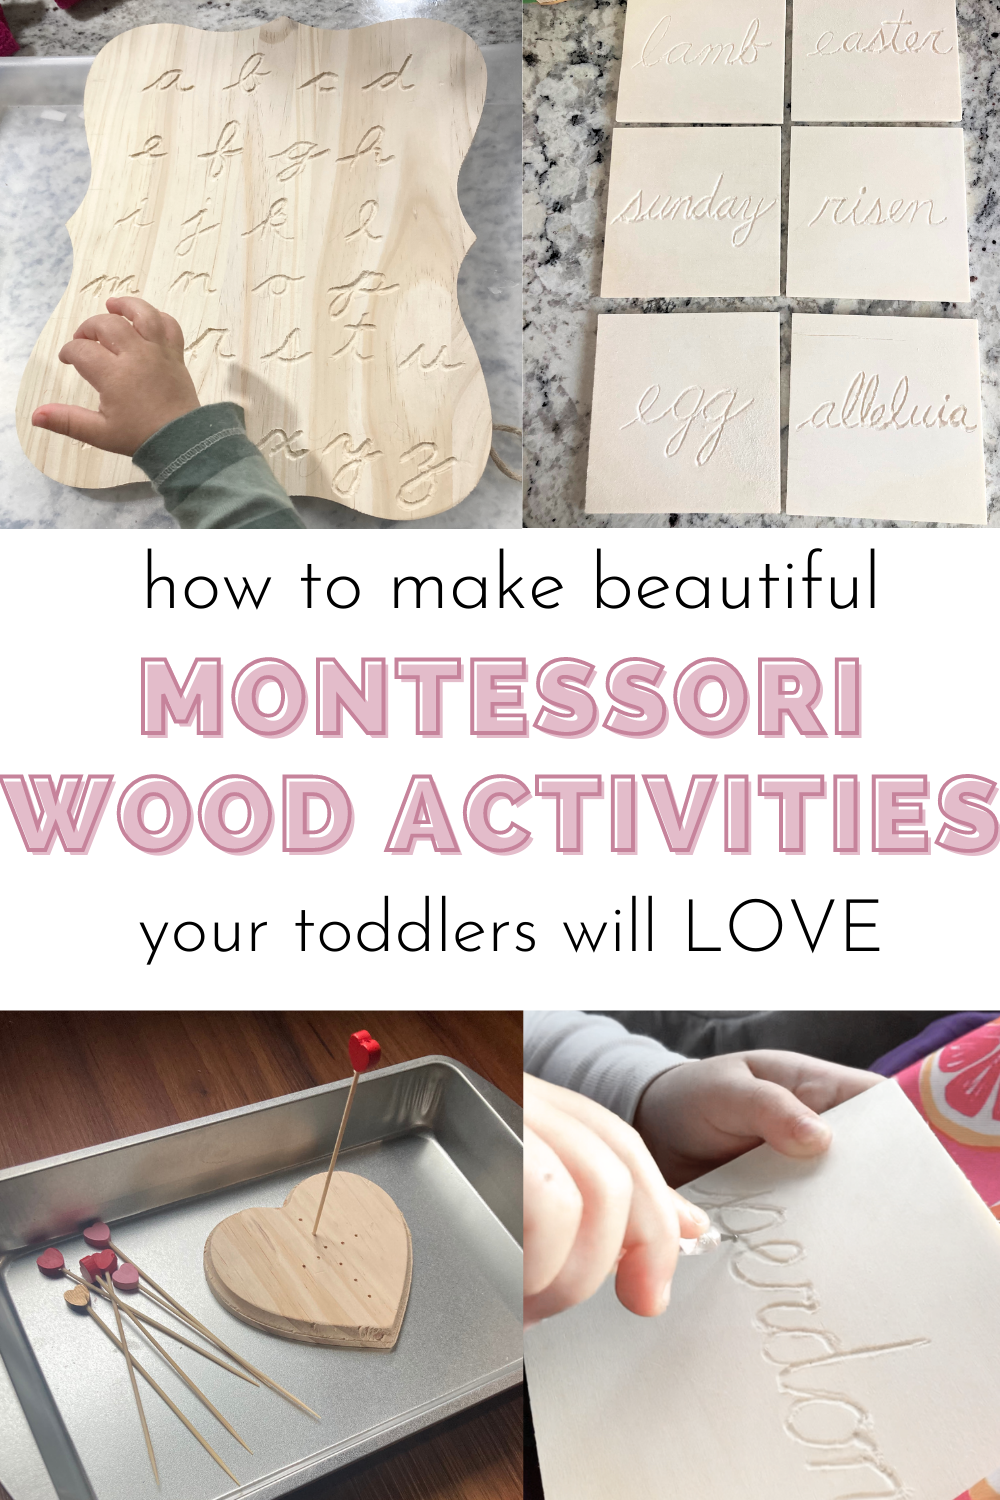
In the realm of Montessori homeschool activity ideas, I’ve experimented with making cursive letter tracing boards, word tracing tiles for the liturgical season, wood posting activities and even Playdoh stamps made from engraved wood cubes.
There’s so much more I want to make!
What type of wood should you use, where do you buy, how much is it?
One of the reasons I started this wood engraving escapade was because we have about 3 acres worth of dense woods – i.e. lots of material for projects! Unfortunately the wood is quite hard – most are oak trees – and while I have made wood slices before using my wood engraving tool, I have an easier time with store-bought “craft” wood that I find at Dollar Tree or Hobby Lobby.
Liturgical wood tiles – $1 for 6 pack at Dollar Tree


Montessori St. Valentine’s wood posting activity – $1 each for wood heart shape, $1 for heart toothpicks

Montessori wood tracing board – $5 at Dollar Tree

Christmas ornament wood slices – FREE, from my backyard! There are prettier ones at Dollar Tree and Hobby Lobby around Christmas time.

What bits did you use?
Honestly the only bit I found myself going back to and using for the letter/shape engraving projects was this spherical rotary burr bit below.

How long did these projects take?
In the beginning it takes some time to familiarize yourself with the tool and the bits, reading the instruction manual and asking someone to help you if you’ve got a handy person you know. It took me maybe 30 minutes in the beginning just to get used to the tool.
Liturgical wood engraved tiles – 1 minute each. ONE MINUTE y’all!! I engraved cursive words and numbers.
Wood slices – 5 minutes each, because they’re a bit harder wood. Same thing, words and numbers.
Montessori wood tracing board – one hour, since I have all the letters of the alphabet on this board, and the wood was slightly thicker than the tiles.
Montessori wood posting activity – 1 minute each. For fall I used little “haystacks” (basically wood prisms with hay glued onto them) and for St. Valentine’s I found heart shaped wood frames.
What other tools did you choose?
These are optional but I free-handed most of my projects, partly because they’re made for my children, partly because I simply don’t have time for perfection.
- Pencil (to draw the design you want)
- Sandpaper (to clean up the rough edges at the end)
- Drill
What do you use for your children to trace?
You can use a wood stylus, I had these plastic ball point styluses that came a previous Amazon order of carbon transfer paper.
Moral of the story
I love all those beautiful wood Montessori-friendly homeschool items from awesome small family-owned businesses, these people are amazing and they’ve created great products.
But you know what? For my budget, I just can’t justify buying a $30 item for one activity, when truly I want to create all sorts of fun things for my children.
At a fraction of the price you can have the beautiful wood activity you’ve always wanted, with the freedom to decide your next project after being armed with your new wood engraving rotary tool.
Sourdough, baked goods, home decor, sewing…these are all wonderful things proper to a traditional homemaker. But you know what? I think there’s nothing wrong for a mom to use an electric drill to create all sorts of crafts and school materials for her children!